Showing posts with label Vegetarian. Show all posts

February 3, 2019

Huat Kueh or Fatt Koh (发糕)


Huat Kueh or Fatt Koh (发糕) are mostly made for altar offerings and Chinese New Year. This recipe doesn't require yeast or eggs. Try making this for Chinese New Year this year. It's fairly simple but remember to follow to recipe precisely!

Three important things to remember when making Huat Kueh (发糕).

1. Fill batter up to the brim of your mould or else it won't "smile".

2. Make sure you have enough water in the steamer so you don't need to add water mid way.

3. Do not open your steamer lid until it's done steaming. Make sure you have ample room in your steamer for the Huat Kueh (发糕) to rise or "smile".

INGREDIENTS:

360g self rising flour
150g sugar
350ml water
1 teaspoon baking soda
Some food coloring (Red & Yellow)

Mix dry ingredients thoroughly and then add water. Mix until batter is smooth. Divide a small portion of the dough. Add food coloring to both portions of the dough. I used yellow for the larger portion and red for the smaller portion. You can do vice versa.


Fill moulds with yellow batter. Make sure you fill it up to the top. Add a small portion of colored dough in the middle.


Steam in high heat for 25 mins.


February 15, 2017

Easy Asparagus Tart


This asparagus tart is very easy to make. If you can't get fresh asparagus, frozen ones will work fine. Pair with a salad, or a nice juicy piece of steak.

INGREDIENTS:

1 sheet of puff pasty
1 box (5.2 oz) Boursin cheese (Garlic & Fine Herb)
1 bag of frozen asparagus spears (you can also use fresh ones)
PAM butter cooking spray
Lemon zest
Black pepper to taste

Preheat oven to 400°F. Thaw puff pastry.

Unroll and spread Boursin cheese on top of the pastry. The cheese spreads much easier when it is in room temperature.


Leave about half an inch on each side.


Arrange asparagus spears on top of the cheese. You can arrange the spears in alternate orders.


Continue arranging the asparagus spears until you have covered all the cheese.


Fold the sides and tuck them neatly to form a square tart. If the edges are not sticking, try using some water to moisten the dough and then crimp them. Spray PAM Butter cooking spray evenly on top of the tart. A quick dash of black pepper on top of the asparagus.


Bake at a 400°F for 20 minutes. Add lemon zest on top once the tart finished baking. Serve warm.


Vegan Stuffed Peppers


These stuffed peppers are easy to make and the filling can be quite versatile. You can swap out different veggies or add different types, but these are my husband's favorite. To make ones with meat, use 2 cup of browned ground chicken, turkey, or beef. I like to use Trader Joe's Beef-less Ground Beef for this recipe but you can use your favorite vegan ground beef, as long as they hold up when cooking. I like to use stale brown rice for this recipe. I freeze brown rice that I get from Chinese take out and use them for this recipe. 

INGREDIENTS:

6 bell peppers (use different colored ones for a colorful presentation)
1 cup chopped onions
2 cups chopped mushrooms 
1 packet (12 oz.)Trader Joe's Beef-less Ground Beef (or 2 cups of browned ground chicken, turkey, or beef)
2 tablespoon oil
1 tbsp chopped garlic
1 tbsp dried oregano
1 tbsp dried basil
1 tbsp paprika
1 cup brown rice
1 cup vegetable stock (or chicken, turkey, or beef stock)
2 cups tomato sauce

I recommend using this, but you can also use your favorite ground meat substitute

Mix vegetable stock with tomato sauce. Set aside for later use.

Cut the top of the bell peppers, take out all the seeds. Wash thoroughly.
You can either keep the top of the bell pepper to be cooked with the stuffed peppers, or you can chop them up and use as stuffing. I like the former because it has a better presentation.

In a pot, saute onions with oil in medium heat until it starts to brown. 


Add in garlic and continue cooking until onions and garlic are browned.


Add in mushrooms. Continue to cook in medium heat.


Sweat your mushrooms. Use the liquid to scrape up the brown bits on the bottom of the pot. Saute until liquid almost dries out.


Add in the Trader Joe's Beef-less Ground Beef (or browned ground meat). Stir evenly.


Add 1 cup of the vegetable stock and tomato sauce mixture into the pot. Add in oregano, basil, and paprika. Stir evenly.


Stir in brown rice. At this point, your brown rice should soak up most of the liquid. If it is too watery, you can leave it in the stove for a few more minutes.


Turn off the heat and let mixture cool for a few minutes.


In a casserole dish, stuffed and arrange your peppers neatly so they do not tip when you transfer them into the oven. Pour in the remaining of the vegetable stock and tomato sauce mixture. Bake for 30 minutes at 350°F.


November 23, 2016

Chunky Cranberry Orange Sauce


This easy homemade cranberry sauce will wow your guests and perfume your kitchen with a lovely smell of orange and cranberry. Make a day or two ahead and refrigerate before serving. When heated, the combination of sugar and pectin (from the cranberry) will thicken the sauce. There is also an easier raw version of this recipe here: Easy Cranberry Sauce. Do you know that cranberry sauce is typically cooked and sweet while cranberry relish is typically raw and more on the tart side?

INGREDIENTS:
2 bag cranberries (24 oz.)
1.5 cups sugar
1 orange (juiced)
Orange zests (from the orange you juiced)


Wash, rinse, and drain the cranberries. In a food processor, chop half of the cranberries. You can also chop all of the cranberries if you don't want whole berries in your relish.


I'm using chopped and whole cranberries for this recipe.


Zests and juice orange. Add into a pot or saucepan along with the cranberries. Juice your orange cut side up so seeds won't fall into the mixture.


Add sugar and mix. Cook mixture on medium heat until sugar dissolves.


Once the mixture bubbles, turn the heat to low. Let the cranberry sauce simmer for about 15 minutes, covered.


Stir occasionally to prevent burning. Turn heat off after 15 minutes.


Let the cranberry sauce cool completely before storing in the refrigerator. Serve with your turkey or Meatless Meatloaf. Or even ice cream!


April 29, 2011

McVities Chocolate Biscuit Cake


All set to watch the wedding of the year? Throwing a viewing party? Perhaps a Royal-themed English breakfast? With William and Catherine walking out of Westminster Abbey this morning, it's time to let the new groom and bride have cake and eat it too! Catherine's wedding cake will be that of a traditional fruit cake while William's groom cake will be a Chocolate Biscuit Cake, a favorite of the prince. Be sure to use McVities Dark Chocolate digestive biscuits, though. Here is the recipe for Chocolate Biscuit Cake (which I deviated a little bit, see below) by Darren McGrady, a former Royal chef.


I've heard concerns about using raw egg in this recipe. Since this cake is not baked, there were concerns of salmonella from using the raw egg. So, instead, I've decided to tweak the recipe by tempering the egg with the melted chocolate. This heat from the melted chocolate will cook the egg slightly (and give a false sense of security that you won't get salmonella!).


A package of McVities Dark Chocolate digestive biscuits comes in a 300g roll (about 10 ounces). I just eyeballed it by taking 4 biscuits out (the remaining is probably around 8 ounces). Look mum ... no measuring!

For the cake:
4 ounces dark chocolate
4 ounces (1/2 cup) granulated sugar
4 ounces (1 stick) unsalted butter (softened)
1 egg
8 ounces McVities Dark Chocolate digestive biscuits.

8 ounces dark chocolate (for coating)
1 ounce chocolate (for decoration, optional)
½ teaspoon butter for greasing.

Lightly grease a 6 inch by 2 ½ inch cake ring and place on a tray on a sheet of parchment paper. I use a silicone pan so no need to grease and line with paper.

Break each of the biscuits into almond size pieces by hand and set aside.


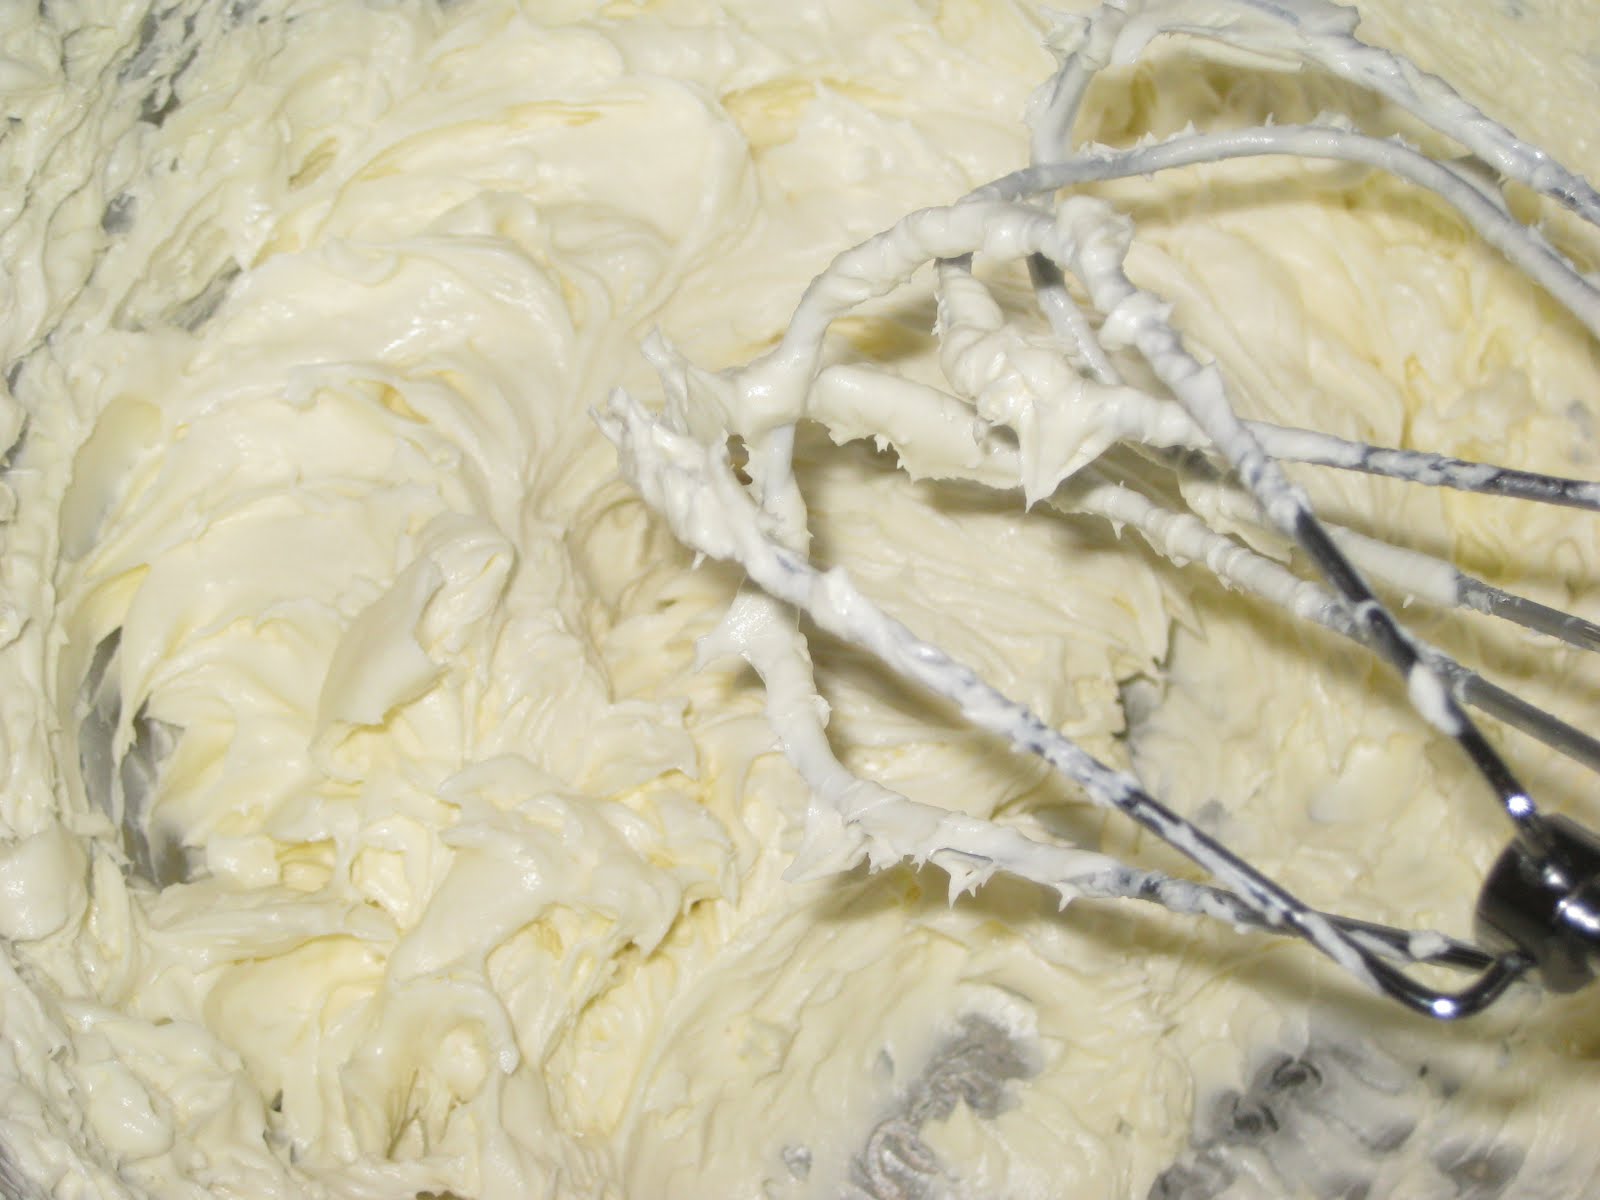
Using an electric mixer, cream the butter and sugar in a bowl until the mixture is fluffy, about 5 minutes. Whisk egg in a small bowl and set aside.


Melt the 4 ounces of chocolate (using a double boiler).


Spoon a small spoonful of the melted chocolate into the egg and quickly whisk it. It will turn into a lumpy mixture but that's OK. We want to increase the temperature of the egg but we don't want to cook it. Slowly add the egg and chocolate mixture back to the melted chocolate and whisk constantly. Your melted chocolate mixture will be smooth and has a shiny sheen. Good job!


Add the chocolate mixture into the butter mixture. Mix with the electric mixer for another 5 minutes until mixture is fluffy (similar consistency to that of chocolate frosting).


Fold in the biscuit pieces until they are all coated with the chocolate mixture.


Spoon the mixture into the prepared cake ring. Try to fill all of the gaps on the bottom of the ring because this will be the top when it is un-molded. Chill the cake in the refrigerator for at least three hours.


Remove the cake from the refrigerator and let it stand while you melt the 8 ounces of chocolate.


Slide the ring off the cake and turn it upside down onto a cake wire. Pour the melted chocolate over the cake and smooth the top and sides using a palette knife (or an offset spatula). I mistakenly used a 9 inch cake pan ... the cake turned out to be more like a cookie!


Allow the chocolate to set at room temperature.Carefully run a knife around the bottom of the cake where the chocolate has stuck it to the cake wire and lift it onto a tea plate.


Melt the remaining 1 ounce of chocolate and use to decorate the top of the cake. I decorated my cake with sugared rose petals (Miss you, Diana!). Serve cake at room temperature.

April 24, 2011

Carrot Cake


UPDATE: I made this cake again for Vance's birthday and decided to decorate it with carrot marzipan.

This is one of my favorite carrot cake recipe and it comes from The Pioneer Woman herself. Vance loves this cake but I don't bake a lot so he has to wait until I'm in the mood to make them (when I am not being lazy).


You can bake the cake the day before and let it cool in the fridge before frosting. You should never, EVER, ever frost a cake when it's still warm ... not even lukewarm! Here's Pioneer Woman's recipe for Sigrid's Carrot Cake (click on the link to go to her site!)

P/S - I made this cake using a round cake pan, you can use a sheet cake pan or a Bundt cake pan. I think next time, I'm gonna cut the cake into halves and put some of the icing in the middle as well.

For cake:
2 cups Sugar
1 cup Vegetable Oil
4 whole Eggs
2 cups All-purpose Flour
½ teaspoons Salt
1 teaspoon Baking Soda
1 teaspoon Baking Powder
1 teaspoon Ground Cinnamon
2 cups Grated Carrots (grated finely)

For Icing:
1 stick Regular Butter, Softened
1 package (8 Oz) Cream Cheese
1 pound Powdered Sugar
2 teaspoons Vanilla
1 cup Pecans (toasted), Chopped Finely

Preheat oven to 350 degrees F. In a large bowl, mix sugar, oil and eggs together until it looks like a smooth curd. In another bowl, sift together flour, salt, baking powder, baking soda and cinnamon.


Add the dry ingredients into the egg mixture.


Add grated carrots and mix well.


Pour into a greased and floured  9 x 13 sheet cake pan or a 9 inch round cake pan (I used silicone pans so I didn't have to grease ans flour the pan). Bake until done, about 25 mins for sheet cake pan and about 50 mins for round cake pan. The cake is done when a toothpick inserted into the cake comes out clean.


Cool completely before icing.


In larger bowl, mix butter and cream cheese. Cream until smooth.


Add vanilla and sugar. Mix well.


Then add in the pecans.


Spread on cooled carrot cake. Voila! Commence food porn ...


NOM NOM NOM NOM NOM!